Integrate with Zendesk®
Create new tickets simply and automatically with Dispatch
1. Create a new Zendesk Action in Dispatch
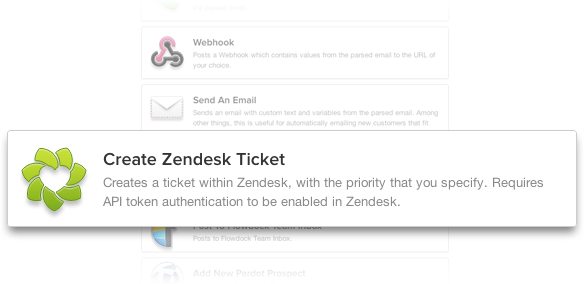 After your parser is set up and you’re ready to add actions, click on the Add/Edit Actions button for your parser. Next, you’ll click on the Create a New Action button at the top of your Actions page. Finally, select Create Zendesk Ticket from the list of actions.
![]()
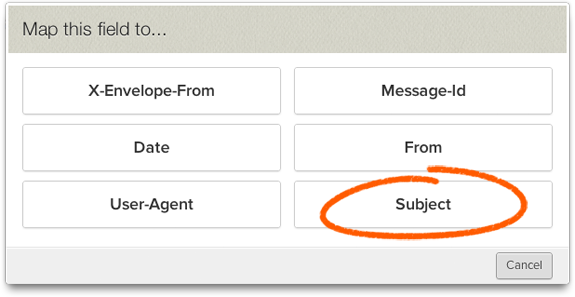
2. Set up your Parser Fields
With Dispatch’s simple-to-use email and webhook parsing interface, it’s easy to set up your parser fields to pull out the appropriate data from your emails/webhooks to pass on to Zendesk.
![]()
3. Configure your Action
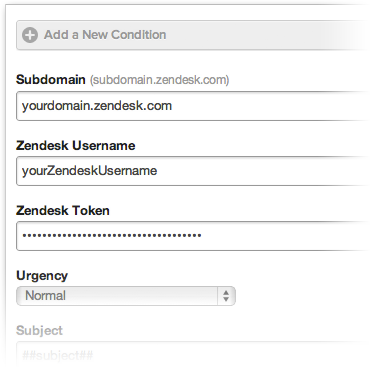
After setting up all your parser fields to extract data from your email/webhook, click the Configure Action button. Here, you’ll setup the action to output to Zendesk.
Enter your Zendesk subdomain URL, your username and your API Token. You must enable Token Access in your Zendesk Settings. This setting can be found in your Zendesk Account under Settings > Channels > API (Your API Token can be found there as well).
Lastly, you’ll select a Ticket Urgency level and set up the Subject and Description fields. You can insert data from your parser fields into both the Subject and Description. Additionally, you can add conditional arguments ("Conditions") to tell Dispatch only to fire your Zendesk Action when certain conditions are met.
And that’s it! You’re all set!
Zendesk is a web-based customer support platform. When you integrate Zendesk with Dispatch, you can automatically create new tickets from extracted data in your email and webhooks.